Mastering the Art of Kanjivaram Saree Draping: A Step-by-Step Guide
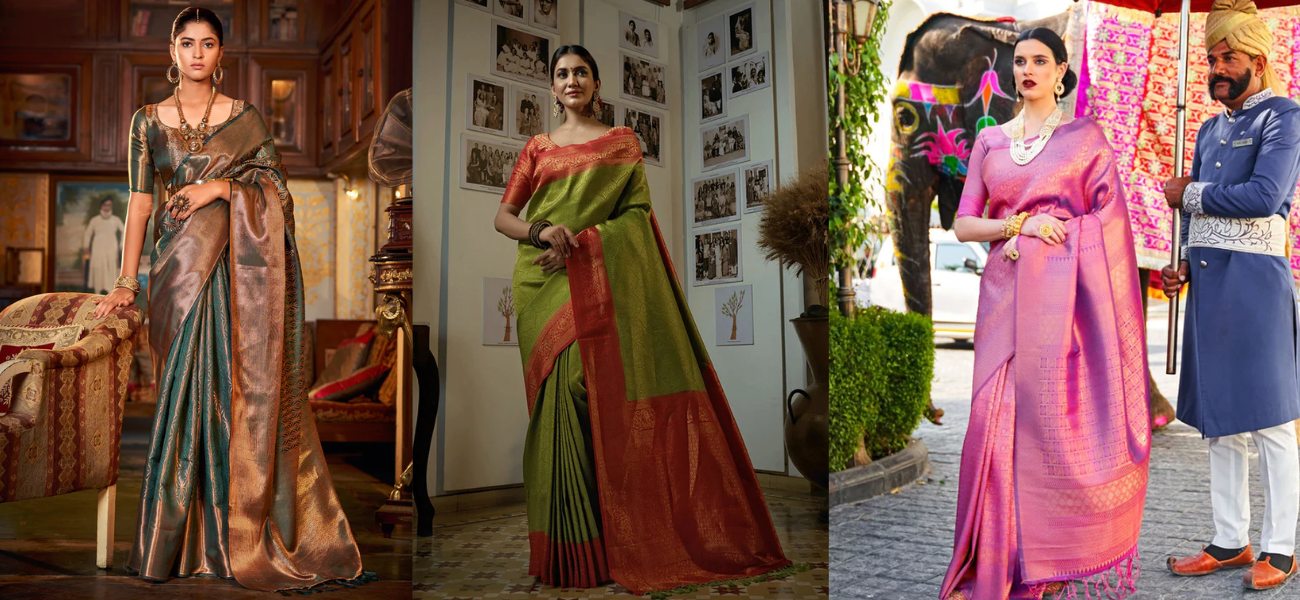
Greetings, lovely ladies! Today I am going to share a comprehensive step-by-step guide on how to flawlessly drape a Kanjivaram saree from start to finish. A Kanjivaram saree is a true marvel and a captivating attire. However, if not worn correctly, it can appear chaotic, leaving you feeling uneasy and uncomfortable. Now, let's set out on this quest to achieve the flawless art of draping a Kanjivaram saree together.
Step 1: Selecting the Appropriate Petticoat
- Your choice of petticoat plays a crucial role in achieving the perfect Kanjivaram saree drape.
- Ensure that your petticoat is either of the same color as your saree or a neutral shade that complements it harmoniously.
- Moreover, it should be snugly fitted around your waist to provide a stable foundation for draping.
Step 2: Basic Tucking of Saree
-
Begin draping from the right side by tucking in the saree. Start in the middle and stop at your navel.
-
Now, take hold of the other end of the saree.
-
Before fully draping the saree, arrange the pleats for your pallu (the part that goes over your shoulder). This will make it easier to handle the rest of the saree.
-
Once you've pleated the pallu, it will assist you in managing the rest of the saree. You can choose to make narrow or wider pleats for the shoulder, depending on your preference. However, narrow pleats, around 6 to 7 of them, look elegant when they rest on your shoulder and fall gracefully. The key is to ensure they are neatly aligned. To keep them in place, you can ask for assistance or use clips to secure the pleats on your shoulder.
Step 3: Securing the Shoulder Pleats with Pins
-
Secure the shoulder pleats with pins and smooth them down with your hands for a tidy appearance.
-
Some people iron the pleats, but this can make them look too flat. If you want a slightly puffed or fluffy look, gently rub or slide your hands over the pleats.
-
Once you've neatly positioned the pleats on your shoulder, which adds a touch of grace and elegance to your Kanjivaram saree, you can continue with the rest of the draping.
Step 4: Saree Tucking for the Perfect Length
- Another crucial step involves carefully tucking in the saree where we previously stopped.
- Ensure that the lower edge of the saree gently touches the ground. As you've already gone around once before creating the shoulder pleats.
- It is essential to make sure the saree maintains contact with the ground, while also leaving some loose fabric for the front pleats.
Step 5: Creating Neat Saree Pleats for Kanjivaram Draping
- To start making pleats, take the loose end of the saree and bring it to the front, leaving about the length of your hand.
- Then, use a finger to hold them tightly and continue making a few more folds. Keep forming a few pleats while making sure you firmly hold onto the ones you've already made.
- You can make about 6 to 8 pleats, depending on the saree's length or as many as you prefer. Finally, neatly tuck these well-made pleats into the petticoat of your Kanjivaram saree.
Step 6: Finalizing the saree pleats:
- After tucking the pleats into your petticoat, you can adjust them further with your hands and use multiple pins to secure them in place for added stability.
- Once you've finished with the front pleats, continue draping the saree in a circular fashion and tuck it into the petticoat as you go along.
Step 7: Draping with heels
- If you intend to wear high heels or wedge heels with your Kanjivaram saree, avoid tucking the saree and its pleats too high.This can make it look less attractive or even awkward.
- A good idea is to put on your heels before you start draping your saree. In general, wearing heels during the draping process of a Kanjivaram saree makes it much easier.
Step 8: Styling Your Saree's Decorative End
- Now, let's go back to the decorative end of the saree, known as the "pallu" which we initially arranged.
- You've already taken the pleats over your left shoulder, and now you should pass them under your right arm and bring them back over to your left shoulder.
- Since we covered pleating earlier in the tutorial, you simply need to readjust it as required. Make sure the pleats on your shoulder are neatly arranged for a tidy and attractive appearance.
Step 9: Adding the Final Touches
- Make sure the lovely border of your saree is easy to see, and that the hem of the saree isn't flipping inside out.
- Finish it off by using pins where needed. This involves making sure your body is nicely covered while displaying the saree's beautiful design, and it's a mix of creativity and balance.
Now you've learned how to style a Kanjivaram saree perfectly, we're sure you'll want to give it a try.


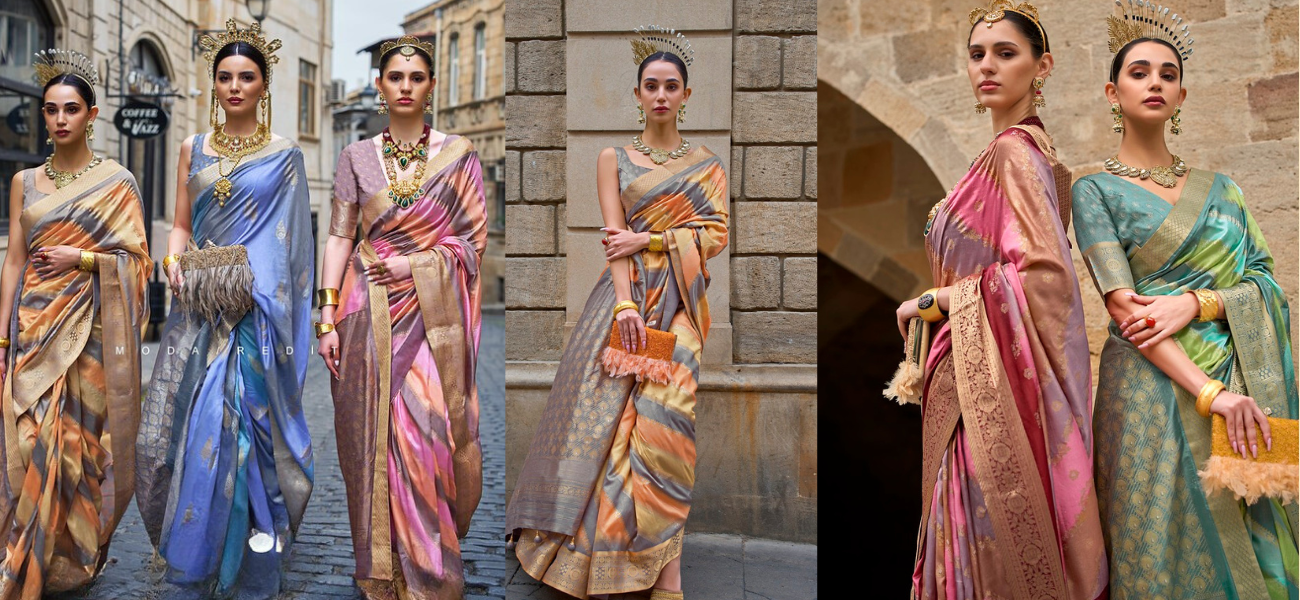
If you want to buy Kanjivaram sarees online, you can check out mysilklove.com to feel elegant and beautiful. The rich and luxurious Kanjivaram sarees at MySilkLove will become your cherished collection.
Leave a comment
This site is protected by hCaptcha and the hCaptcha Privacy Policy and Terms of Service apply.